If you are going to install a Linux OS as a virtual machine on a Windows Host, you will not need as much memory as you would if you wanted to install a Windows guest on a Linux host or (if you are crazy enough) a windows guest on a windows host. There are many uses of virtual machines from a developers point of view, if you are creating an application that works on many platforms, you would like to test them on as many platforms as possible. Regular users will find virtual machines useful if they want to use an application that only runs on one platform. For instance if you are a Mac OSX user or Linux user, but you are very fond of the windows desktop blogging software like Widows Live Writer, which only runs on Windows; you can use a guest windows virtual machine to run this software.
You will need to follow the same steps when installing virtual machine regardless of your choice of host OS and guest OS. For this article, we will use Windows Vista as our host OS and will install Ubuntu as a guest virtual OS.
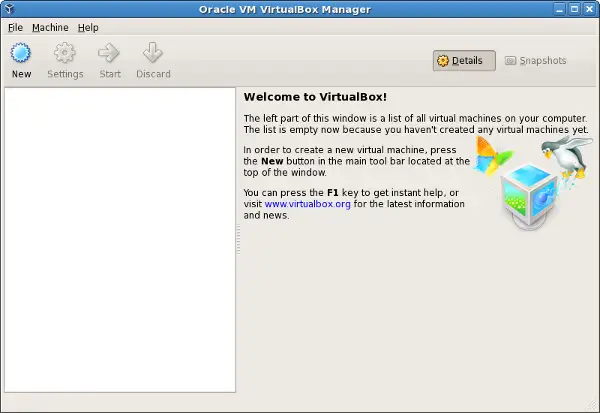
Step 1: After starting up Virtualbox you can run the wizard which will guide you through the installation process by clicking on new.
Step 2: Here you can name your virtual machine and choose the type of operating system and the version. Since there are many many different types of Linux distribution available, not all the versions are listed. Only the popular distributions are listed. If you are trying to install a Linux Distribution that is not listed here, you could choose by Linux Kernel versions. Currently available kernels are 2.2 2.4 2.6
Step 3: In this step you get to choose the memory size you would like to assign your guest OS. Since we are installing Linux OS it has a much smaller memory footprint compare to Windows OS. So even if you were to assign 500mb of memory for the Ubuntu it will run fine but since I have plenty of memory I dont mind assigning 1GB of memory. If the guest OS was Windows, 1GB memory would be absolutely minimum for a decent performance.
Step 4: In this step you will need to create a virtual HD for your virtual machine. We choose to create a new HD which will take us to another short wizard.
Step 5: On the HD creating wizard you get to choose whether you want a dynamic storage or a Fixed Storage. I think its always a good idea to choose dynamic storage as the disk size increases depending on how much you are using. In case of fixed storage you are using up a big chunk of HD space whether you need it or not. You should know the minimum requirements for your OS before using a small storage. For Ubuntu, I believe the minimum storage for full installation is 2GB. Windows Vista probably needs double the space at least. We will use 8 GB.
Step 6: After the last step you will be prompted with your wizard summary and you should see your new Ubuntu machine listed.
Step 7: But before we start installing our guest virtual OS there is one last step left. Like any new operating system installation you will either need a CD of the operating system you would like to install or ISO disk image. Since we are using Ubuntu, its fairly easy to download the latest ISO image from Ubuntu website. You dont need to burn it to a CD in order to install it. You can link the disk image by going to Machine > Settings > CD/DVD-ROM from virtualbox.
Now you are ready to install your Ubuntu virtual machine. Just select the machine and click run.
There are many other options that you can play with to get the most out of your guest operating system including seamless mode where you use guest OS and Host OS seamlessly integrated which gives you the illusion that you are running Linux application natively on Windows with copy/paste and mouse actions without the need to use the host keys every time you want to switch mouse from one machine to another. You can check out this article for seamless mode installation.
